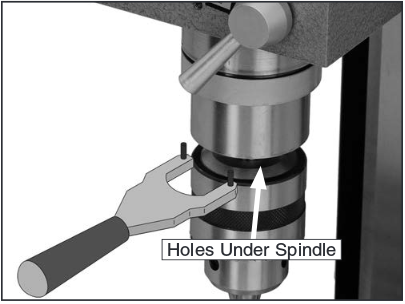
 One hand holds the spanner wrench pictured, another hand turns a wrench to loosen the drawbar, and the tool falls gently onto a foot, or other soft object.
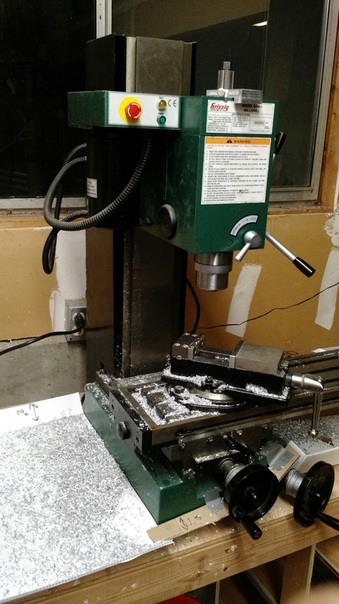
 I've had my mill (a Grizzly G0463}for several years now, and I really hate changing tools. I understand the need for changing tools (it's hard to flycut with a boring head, and it's hard to make slots with a drill) but it's a huge hassle with small mills (Sieg X2 and X3-style mills). Even with a full-sized Bridgeport (or equivalent...) it's enough of a hassle that power drawbars are installed on many/most of them in industrial settings.
First, let's walk through what makes the Grizzly such a pain for toolchanges. THERE'S NO SPINDLE BRAKE! The mill comes with a stupid little spanner wrench, which grabs holes on the spindle face. This means that you have to use one hand to loosen the drawbar, another hand to hold the spanner wrench (which wants to back out as most spanner wrenches do) and a third hand to catch your precious endmill once it drops free.
First, let's walk through what makes the Grizzly such a pain for toolchanges. THERE'S NO SPINDLE BRAKE! The mill comes with a stupid little spanner wrench, which grabs holes on the spindle face. This means that you have to use one hand to loosen the drawbar, another hand to hold the spanner wrench (which wants to back out as most spanner wrenches do) and a third hand to catch your precious endmill once it drops free.
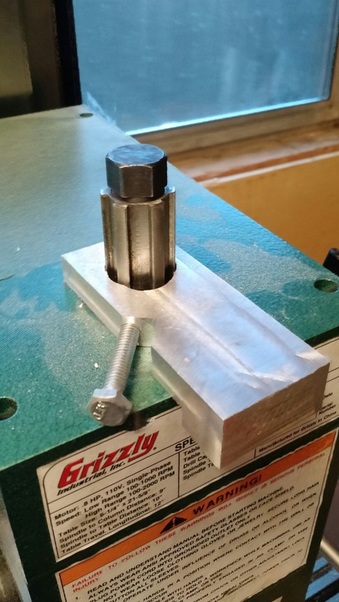
Enough people find this to be a colossal hassle that littlemachineshop sells spline wrenches, and two different kinds of spindle locks to grab the spindle spline to prevent rotation while tightening or loosening the drawbar. I built my own spindle spline lock, which works reasonably well, rather than buy one of those linked. (I don't have any relation with LMS, and don't get any sort of sweet kickback money if you click the links.) I made my own spindle lock, freeing up an entire hand for moving tools into and out of the collet.
Even with something as marvelous as a spindle lock, I still had to change collets frequently, which was still a huge pain. Take the tool out, unscrew the drawbar from the collet, put the collet back in the rack, then reverse for the new collet. (Starrett sells a stepped adaptor for its edgefinders just so machinists don't have to change collets to touch off.)
I started looking into the Tormach Tooling System (TTS), which is all based around a precision spud going into a single 3/4" R8 collet. TTS would get me away from changing collets, but I'd still have to grab a wrench and turn the drawbar to release tools. This takes less time, but it still takes time. Tormach's video below explains how the TTS spud works with the R8 collet, and gives some general background for how R8 collets work.
I started looking into the Tormach Tooling System (TTS), which is all based around a precision spud going into a single 3/4" R8 collet. TTS would get me away from changing collets, but I'd still have to grab a wrench and turn the drawbar to release tools. This takes less time, but it still takes time. Tormach's video below explains how the TTS spud works with the R8 collet, and gives some general background for how R8 collets work.
Tormach's own mills have an optional power drawbar, wherein the drawbar is tightened against Belleville washers. The drawbar is released when a pneumatic cylinder presses the washers flat. This system works well, and many people have done similar things (hoss machine's power drawbar is very well-known among hobbyists running Sieg-type mills).
Using pneumatics is fine and dandy, and how many commercial CNC machines work. To do this I'd need to buy an air cylinder ($$) and also an air compressor ($$). This seems like a terrible plan to me, since I don't have an air compressor, and don't really want one just to change tools. They're loud, big, and this would be the only thing I run with it. Maybe someday, when I own my own house and can put a compressor into a soundproof enclosure.
With pneumatics out of the picture, I started looking into levers, and toggle links. In part this was because nobody seemed to have (or want to use) a big enough air cylinder to act directly on the drawbar-everybody was using a lever system to increase the force. I saw what SDM Fab did with a lever drawbar and thought that that was a good path forward. Their lever system has a detent to hold the collet open. The downside for my application was that it looked like a pain to make on a manual mill, and it was way bigger than anything I think I need. I don't have the machine rigidity of a Tormach and thus can't put as much useful force into the tool, so there's no need to grab onto the tool quite as strongly. Also there are numerous parts which will cost me money, and also the mysterious "hydraulic intensifier".
So what I started thinking about was cams. Instead of using levers, a cam will give greatly amplified force in comparison to a lever, and is self-locking in many cases. This gets me away from detents, and also gets the size down.
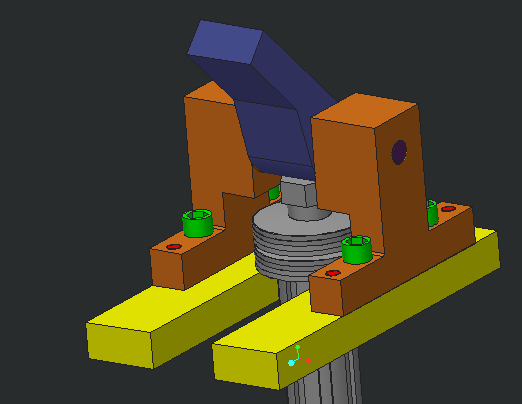
The general notion here is that the entire assembly (all the colored bits) will slide onto the top of the mill (not shown), and I'll pull down on a lever attached to the cam (blue). The friction between the cam and the hex head of the drawbar will pull the baseplate (yellow) into contact with the spindle splines. Additional pulling on the lever will rotate the cam and drive the drawbar down, compressing the belleville washers and releasing the collet. This design is the culmination of several years of ruminating and sketching; it's pretty simple, doesn't add extra weight to the head (very important for a manual machine), and doesn't put axial load on the spindle (not that critical in the X3-type mills, but very good for other mills).
Much like most fixtures I've ever designed, this thing is not pretty. I'm using all aluminum (6061 that I have handy for pretty much everything, and relatively hard-wearing 2014 for the cam itself, again what I've got handy) with socket head cap screws and dowel pins holding it all together. Dowel pins and screws are a great way to put together fixtures, because they're very easy to analyze. The tensile/clamping forces I need drive the size and quantity of the SHCS, and the shear forces drive the size and quantity of the dowel pins. This is how IKEA does it - screws to clamp, dowels to take shear, and never the twain shall meet.
There are a few risks I see with this design.
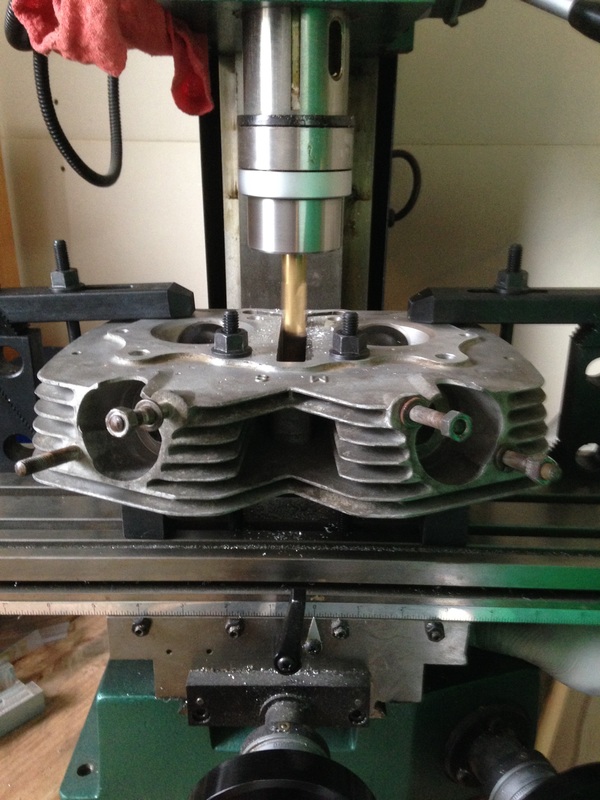
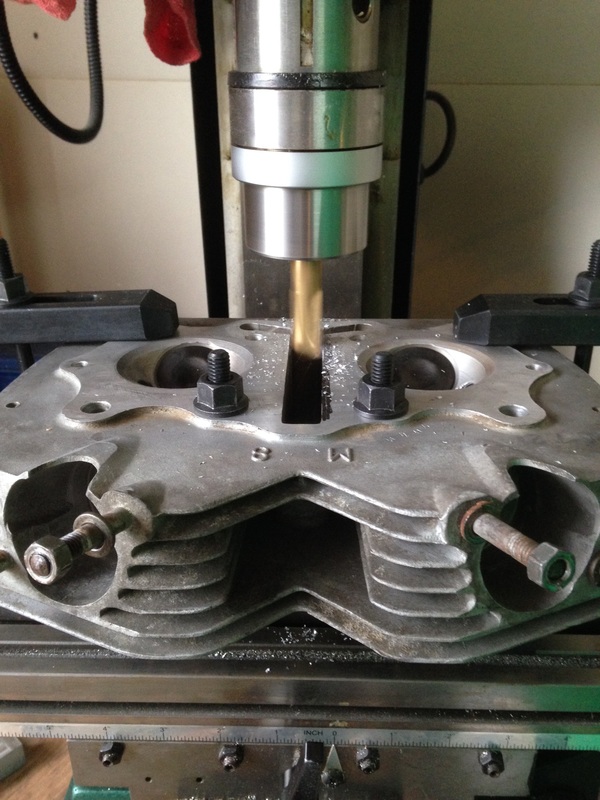
I'll get into the nitty-gritty of this design and what led to it in future posts, especially since I just noticed I don't have the right size drills for the dowel pin reamers I'm going to use.
Much like most fixtures I've ever designed, this thing is not pretty. I'm using all aluminum (6061 that I have handy for pretty much everything, and relatively hard-wearing 2014 for the cam itself, again what I've got handy) with socket head cap screws and dowel pins holding it all together. Dowel pins and screws are a great way to put together fixtures, because they're very easy to analyze. The tensile/clamping forces I need drive the size and quantity of the SHCS, and the shear forces drive the size and quantity of the dowel pins. This is how IKEA does it - screws to clamp, dowels to take shear, and never the twain shall meet.
There are a few risks I see with this design.
- Bending/deflecting the drawbar while camming open or closed, possibly causing problems. The frictional force is proportional to the downward force so there's probably a critical relationship between spring stack height and the cam to drawbar friction coefficient. I can calculate that if I start to worry too much.
- Wearing down the cam surface over time. This may smooth/burnish the surface at first, but getting aluminum shavings down into the works of the spindle can't be good. If needed I could remachine the cam out of something harder (aluminum bronze, as an example) but that would be more expensive too. So we'll just wing it.
- Cracking the top cover of the head. It's a casting, and not super thick. I have a hunch that the greatest load will be while compressing the springs (as opposed to releasing them) so if my yellow baseplate extends to the edge I should be good. Plates are really weak in bending, but if you can get the load out to the edge, the edge is much stronger in compression for the same force. This is why we stack the same sized moving boxes on top of each other when we can.
I'll get into the nitty-gritty of this design and what led to it in future posts, especially since I just noticed I don't have the right size drills for the dowel pin reamers I'm going to use.
 RSS Feed